
Genkit provides two key developer tools:
- A Node.js CLI for command-line operations
- An optional local web app, called the Developer UI, that interfaces with your Genkit configuration for interactive testing and development
Both of these tools require Node.js 20 or later.
Installation
If you don't already have Node 20 or newer on your system, install it now.
Recommendation: The
nvmandnvm-windowstools are a convenient way to install specific versions of Node if it's not already installed on your system. These tools install Node on a per-user basis, so you don't need to make system-wide changes.To install
nvm:Linux, macOS, etc.
Run the following command:
curl -o- https://raw.githubusercontent.com/nvm-sh/nvm/v0.39.7/install.sh | bashWindows
Download and run the installer as described in the nvm-windows docs.
Then, to install Node and
npm, open a new shell and run the following command:nvm install 20Install the Genkit CLI by running the following command:
npm i -g genkit-cliThis command installs the Genkit CLI into your Node installation directory so that it can be used outside of a Node project.
Command Line Interface (CLI)
The CLI supports various commands to facilitate working with Genkit projects:
genkit start -- <command to run your code>: Start the developer UI and connect it to a running code process.genkit flow:run <flowName>: Run a specified flow. Your runtime must already be running in a separate terminal with theGENKIT_ENV=devenvironment variable set.genkit eval:flow <flowName>: Evaluate a specific flow. Your runtime must already be running in a separate terminal with theGENKIT_ENV=devenvironment variable set.
For a full list of commands, use:
genkit --helpGenkit Developer UI
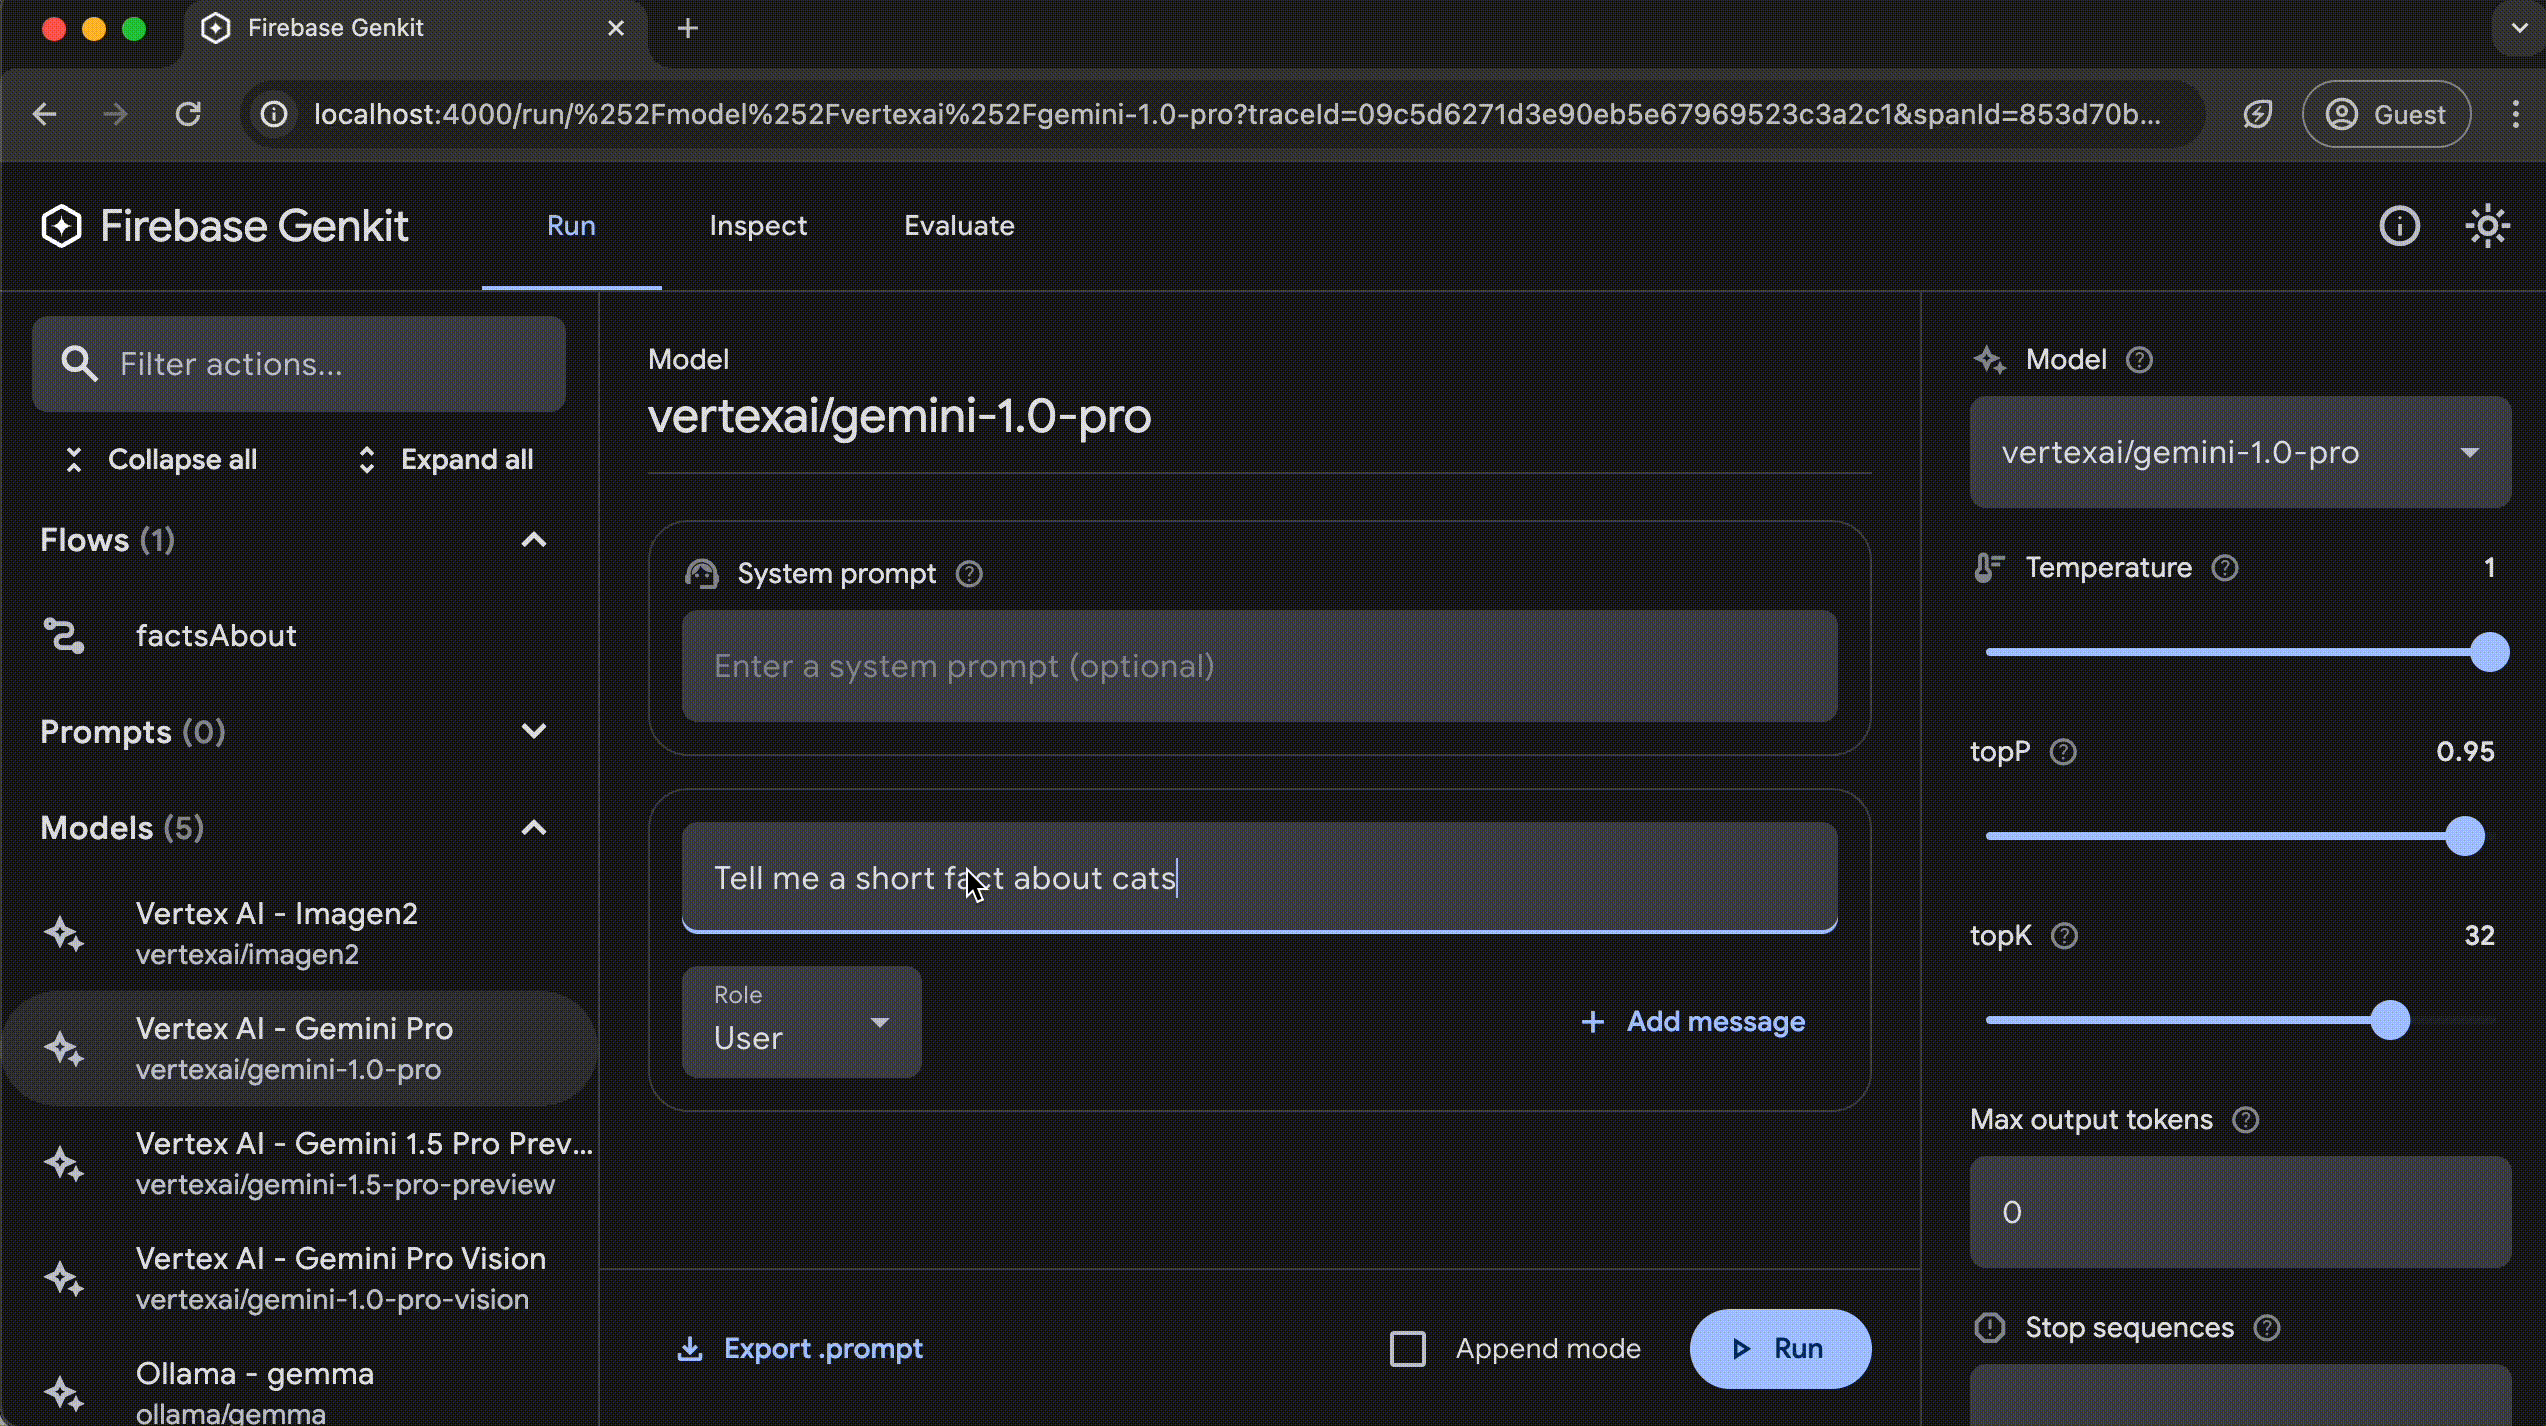
The Genkit Developer UI is a local web app that lets you interactively work with models, flows, prompts, and other elements in your Genkit project.
The Developer UI is able to identify what Genkit components you have defined in your code by attaching to a running code process.
To start the UI, run the following command:
genkit start -- <command to run your code>The <command to run your code> will vary based on your project's setup but
for most apps will look like this:
genkit start -- go run .The developer UI relies on the Go app continuing to run, even if the logic has
completed. If you are just getting started and Genkit is not part of a broader
app, add select {} as the last line of main() to prevent the app from
shutting down so that you can inspect it in the UI.
After running the command, you will get an output like the following:
Telemetry API running on http://localhost:4033
Genkit Developer UI: http://localhost:4000
Open the local host address for the Genkit Developer UI in your browser to view it. You can also open it in the VS Code simple browser to view it alongside your code.
Alternatively, you can use add the -o option to the start command to
automatically open the Developer UI in your default browser tab.
genkit start -o -- <command to run your code>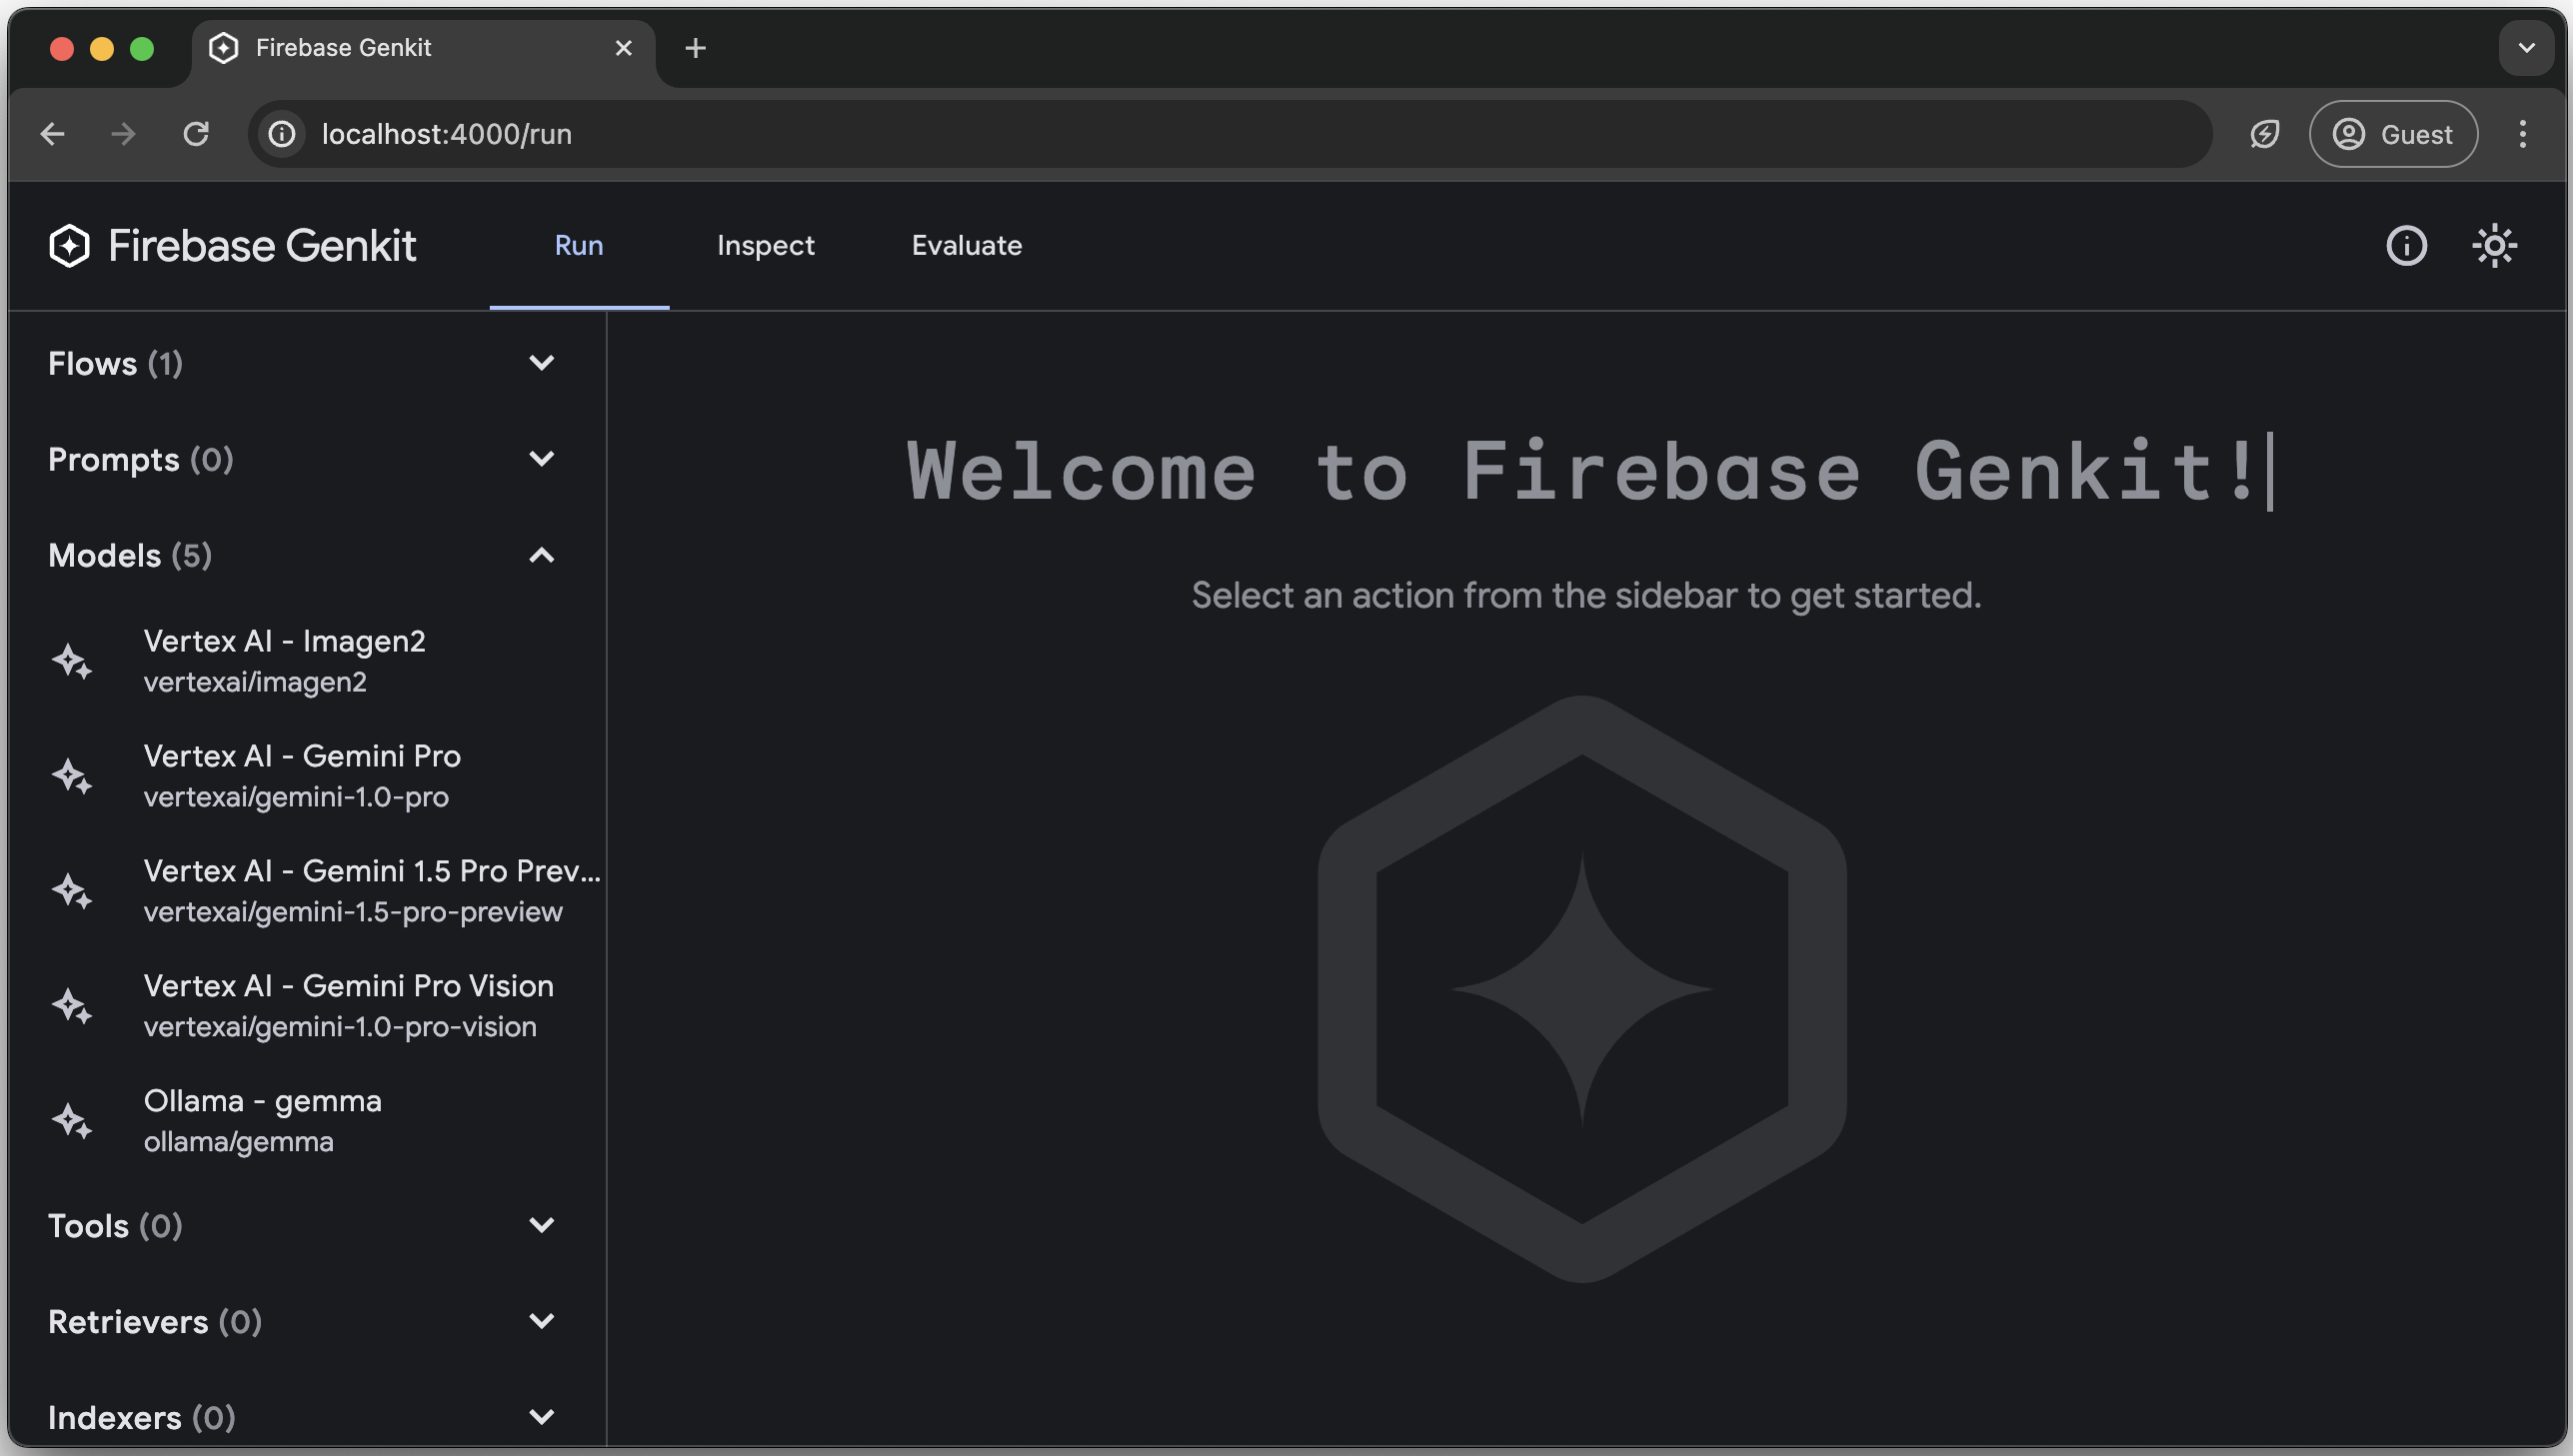
The Developer UI has action runners for Flow, Prompt, Model, Tool,
Retriever, Indexer, Embedder, and Evaluator based on the components
you have defined in your code.
Here's a quick gif tour with cats.
Analytics
The Genkit CLI and Developer UI use cookies and similar technologies from Google to deliver and enhance the quality of its services and to analyze usage. Learn more.
To opt-out of analytics, you can run the following command:
genkit config set analyticsOptOut trueYou can view the current setting by running:
genkit config get analyticsOptOut